Saturday, March 19, 2011

Help Me Rhonda!


Remember Paint Magic?  Well I have an entire brick wall and if only it were magic to paint!   This is the added back room (connected to the living room) that is my office.  It overlooks the back deck and has a funkiness all to it's own.  I have debated leaving the wall alone, because I find the brick charming.  On the other hand, I think the entire house will flow much more once it matches the fireplace.  Plus I have some pretty pictures  I would like to hang,

and they would just get lost on the existing brick wall.
 Here are some additional photos of what I am looking at...


Here goes nothing!

Guest Room

I finished my guest bedroom a few months ago just in time for a friend coming in for the Austin Marathon.  I did not take any "before" photos, although I have one pre-move in.
Here is my after.


The Next Big Thing...

I have BIG changes in store for this room!  After getting this capiz chandelier on sale for a shocking $9 (retails $175+) at the Pottery Barn outlet, I decided to paint the extra room a dark, dramatic teal color.  (I was literally dancing the jig in the store after the cashier confirmed the crazy sale price!)  I will replace the outdated ceiling fan with the chandelier and think the moody new color will add lots of pizzaz!

 Here is the color I have in mind....

I think it will be striking paired with this existing rug on these walls...

More to come!

Fabulous Fabric!

Since refinishing my dining room table, I have been looking for the perfect fabric for the chairs.  I also wanted something that would pick up on the colors from the living room, as well, to keep the flow.  I FINALLY found what I was looking for!  Before I had gone through two different patterns and colors that just weren't right.  Shopping at one of my favorite stores, Tar-jay, some small napkins caught my eye.  After spending a lot of time looking for fabrics in Hobby Lobby and JoAnn, these little napkins jumped out at me because of their color.  They were more of a safflower yellow, which is what I wanted, and I loved the linen-ish texture to them as well.  For $9.99 for a pack of four, they were a bargain and would fit the size of my chairs perfectly!  I snatched them up and couldn't be more pleased with my find.

Here is the first fabric, before I really knew exactly what colors would be in my living room, etc.  I loved the color, and the funky geometric pattern.

Here is the second fabric I snagged at JoAnn, mostly because it was ridiculously cheap (and on sale) and was one of the only yellows in the store.  Unfortunately, it was way too canary yellow, and the fabric was very thin and cheap-looking on the chairs.

Napkin?  We have a winner!!!


Living room love

This room has seen more changes than any room in the house.  I have gone through countless curtains, rugs, pillows, etc. before I found what I was looking for.  I knew I wanted something "fun" and needed some color to brighten up the room.  Here are a few of the former looks that didn't work....

I loved the rust colors in this rug but didn't love the big picture of it all together.  Notice my fireplace was still it's original brick color and my curtains are hung low. *yawn*

Here I have some breezy white curtains and they are hung very high, to give the appearance of larger windows.  (You can also see I was in the process of painting the fireplace white!)  I loved the FUN, bright pillows here but that is about it!  This room needed more color than a few throw pillows could contribute.  There is also a neutral jute rug down.

Now I have different throw pillows (LOVE) and two ottomans to act as my coffee table.  I was thrilled to snag these babies on sale at Target for $50 each after Christmas, since I have been eyeing them for awhile.  They are wonderful because of the extra storage and the fact that they provide more seating in the room if needed.
*Notice I also took the door (on right) off the hinges.  It now happily resides in my garage. :)  I like this doorless look so much more than the previous awkward open door of living rooms past.

Finally, I found the rug.  It was on sale at World Market so I got a great deal.  Curtains are from IKEA and to bring it all together, I hung bamboo shades too.  Instead of purchasing one big, expensive shade, I bought three separate shades (on sale for $9.99!) and hung them side by side.  I saved big bucks doing this and you can't even tell that there are three shades there unless you look closely.  Overall, I am very happy with the room.


*I am very good about saving all my receipts and always return anything that doesn't work out.  As you can see, I have made a lot of returns and gotten very lucky with finding most everything on sale. :)

My TV and media stand are also pretty recent additions as well.  My parents got me a new television and TV stand for Christmas.  Putting the TV stand together was a bit challenging, but so worth it!

Out with the old
In with the new

Sunday, February 6, 2011

Dining Room-Take 4

It has been quite awhile since I have blogged!  I have been very busy and haven't sat down long enough to catch up!
So my latest project: refinishing and staining my dining room table. Ignorance is bliss, which is why I first attempted this project 3 weeks ago solo!  I  truly had no idea how much work this would take (seems to be a reoccurring theme here) and just blindly went for it because it was a down right cheap DIY and I was eager to have a "new" dining room set. :)  This was a project that required lots of patience, muscle power, and a face mask, which sadly, I did not have!  Once I began sanding the table, I saw just how much dust it produced.  WHOA-my garage was a thick fog of wood dust.  The initial sanding of the tabletop was a breeze, things got trickier when I started sanding the table legs and chairs.  I became tired VERY quickly but pushed on because I wanted it DONE.  I have to admit, it was so refreshing to uncover a smooth surface beneath.  Before, my table top had been covered with scratches and dings and was very uneven in texture and appearance.  It had white rings from heat and just major wear and tear from years and years of use.  (This table was a hand me down from my parents, who got it originally from our neighbors in Southlake when they moved.) Bottom line, it was beaten up and desperately needed some TLC that would uncover all it's underlying beauty.  Take a peek at this pitiful surface:

Oh how I miss those cheerful peonies! Just LOVELY! :)
 
After sanding, a clean slate was revealed and I applied a dark expresso stain/polyurethane.  I was thankful that they sold them as one nowadays!


Previously, I would have had to use two separate products and it would have added hours days to the job as a result.   My initial coats were very uneven, so required several layers.  Overall, I am very pleased with the outcome but prefer a more matte finish.  It's a little shiny for my taste and I'm going to have to make another trip to my home improvement store eventually to see if they have a finish that will take away the glaring shine.


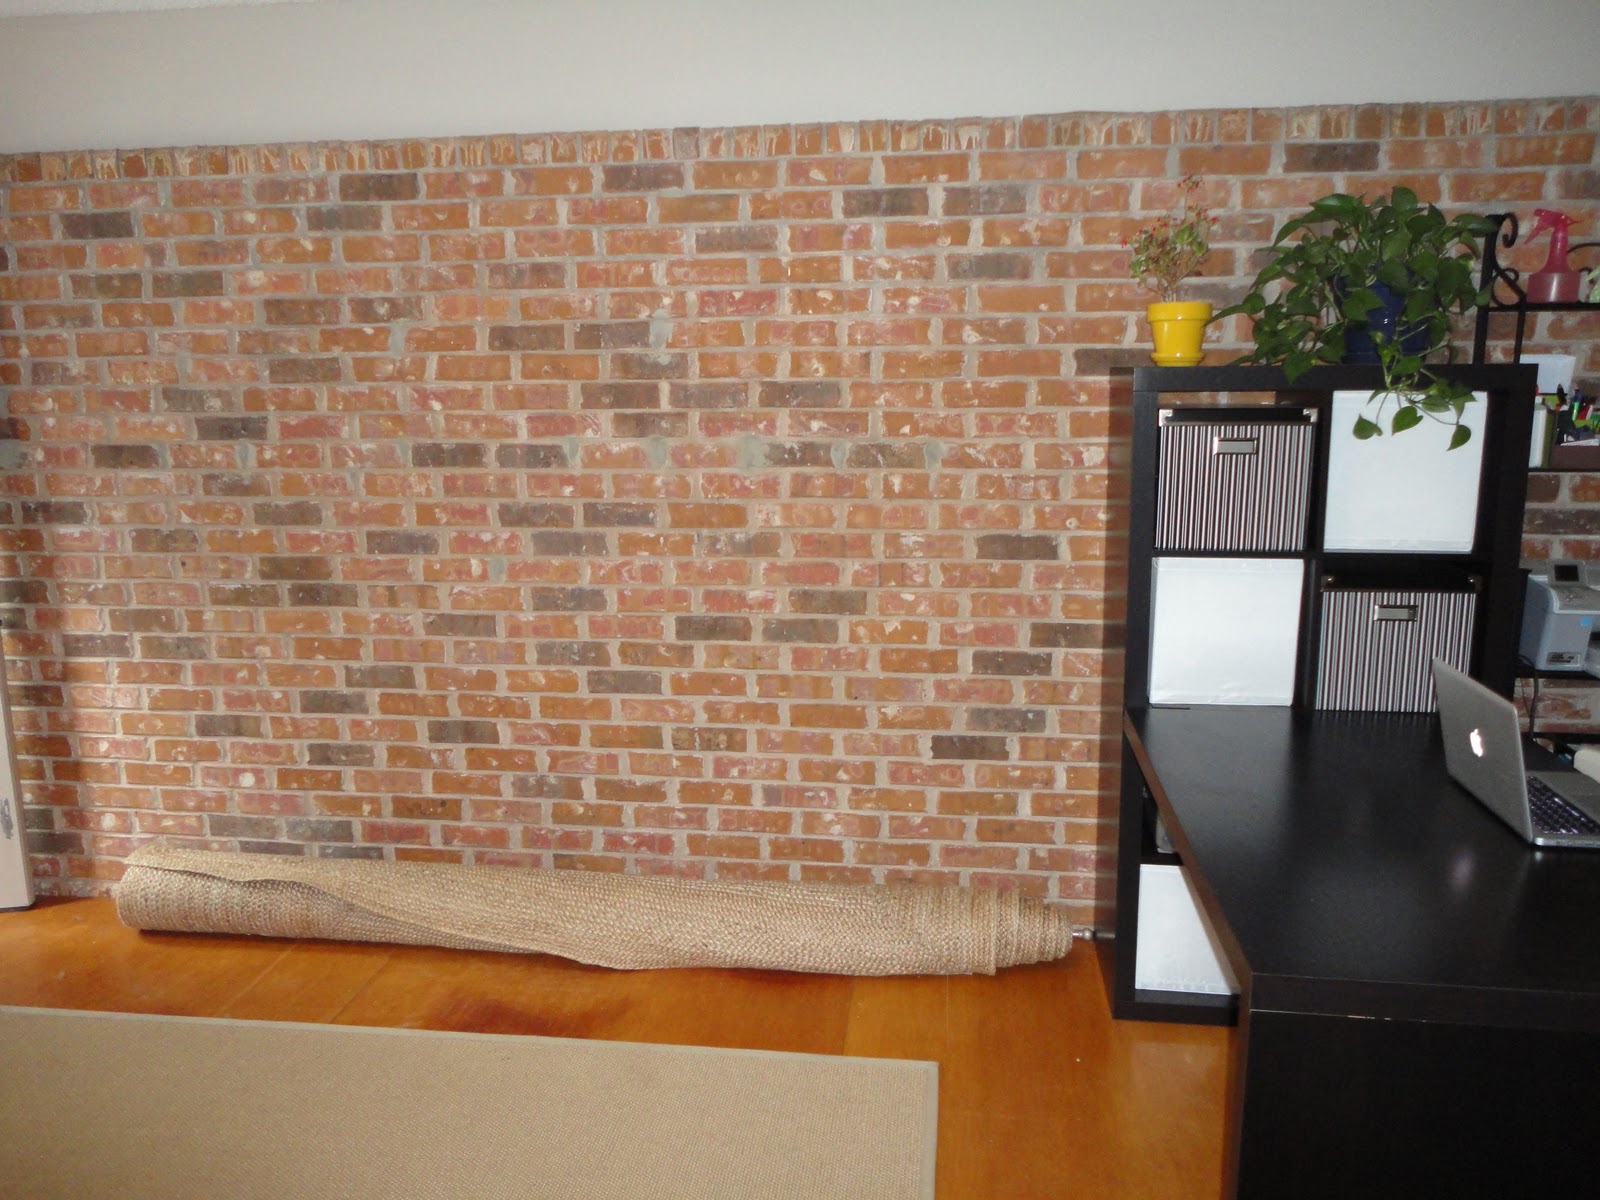
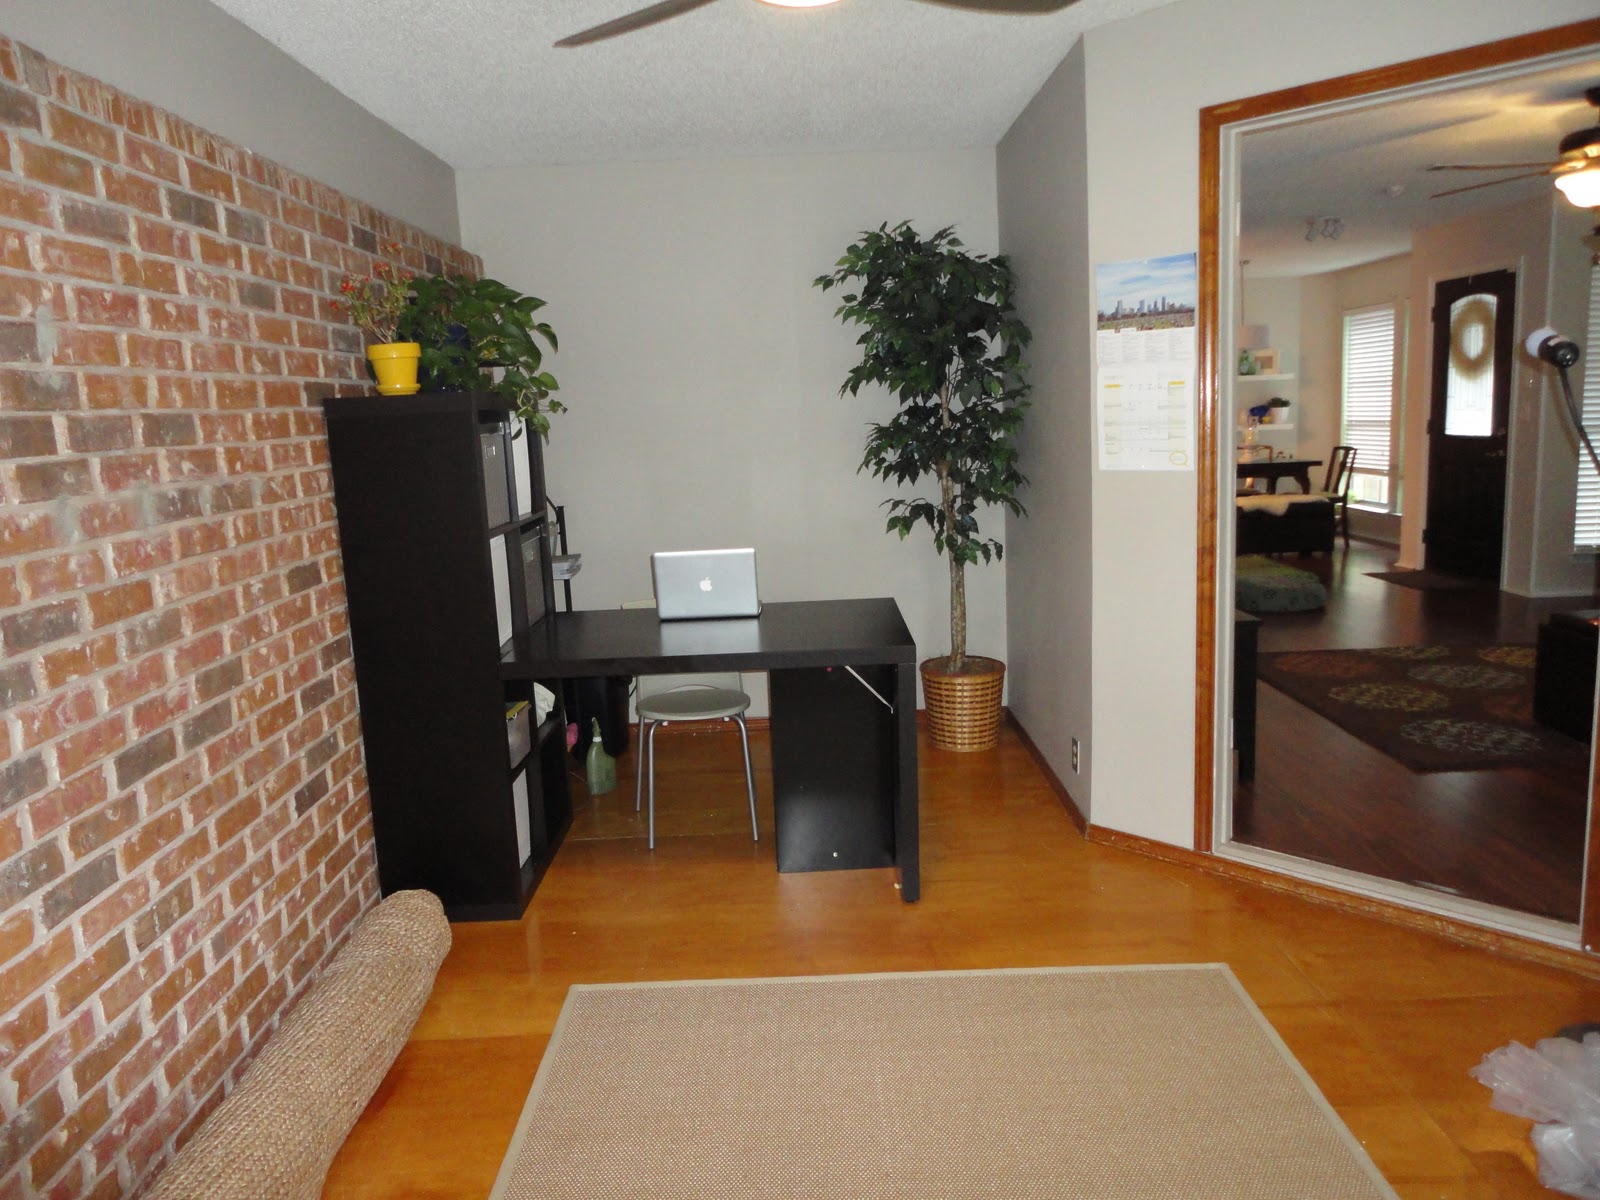
As you can see from the picture, I also moved an ottoman to one side of the table.   It seems to create more open space and provide a comfy little bench on one side.  I playfully threw on my little sheepskin rug as well to add some more texture and personality to the room.    Below are the before and after shots:

BEFORE
AFTER

The final touch to this room will be to flank the windows with some inexpensive Roman shades from IKEA.  One thing at a time though! Naturally, I do NOT have an eye for decorating, but I am an excellent copycat! (My entire dining room was copied from online photos I have seen from thrifty, inspirational DIYers.)

I have many other small projects that have yet to make it to the blog.  My biggest focus right now is bringing my living room up to speed, one small sale at a time.  Bigger pieces aren't going anywhere so the key is to use what I have and just add the surrounding details.  I discovered an awesome website for designing "moodboards" for free.  You simply place photos of your couch, media center, etc. with other objects for your room (you can use your own photos of existing pieces you own OR clip photos of items from various stores) and it gives you an idea of the big picture before you commit.  It is really helping me put together a rug, curtains, lamps, etc. not to mention different colors and textures, and see them all together.  I have learned the hard way (think multiple rug/curtain returns) that just one cute piece doesn't make the room.  I don't want to be too matchy-matchy but also need a cohesive theme.  I am LOVING this site for so many ideas and ways of seeing my furnishings among fresh new pieces!
  

Just click on "create a moodboard" to drag and drop various pieces (yours and from all different stores) to create your dream room.  You can also browse existing moodboards to get ideas if needed.

Sunday, January 2, 2011

Dining Room Transformations...

First go around, I started off with a basic, small chandelier.  I loved how it looked in the store but once it was in the room, it just didn't look right.  The pale green that I once loved in my last kitchen was much greener in this space.


Next, I repainted the area in the same light khaki color that was in the living room.  This helped the spaces flow more and feel more cohesive.  I also tried a more neutral light fixture.  Lowe's gave me this one in exchange for the little chandelier.  Once again, it just didn't fit.


Finally, I found the perfect light fixture online.


In addition, I recovered the dining room chairs in new fabric and added some IKEA floating shelves along the wall.

AFTER
  
Before 1
Before 2

My next project will be refinishing and staining my dining room table and chairs.  The table is an antique and has really taken a beating through the years.  I'm looking forward to staining it a rich, expresso color. :)

The Magic of Paint

I was never a fan of the dark brick fireplace.  It gave the living room a very dated appearance and was the main focus of the room.  By painting the brick white, I felt it would add more balance and give me the open and airy feeling I was seeking.   In typical Tracy-fashion, I got started as soon as I realized I had white paint in the garage.  I was determined to have a full fireplace makeover by morning and painted for 5 hours straight!

Before
After

Wow.  I had no idea how labor intensive painting a fireplace would be!  The entire right side of my body ACHED for days afterwards.  (I'm right handed.)  Since brick is very porous, it needs 3 solid coats of paint,  plus getting in between the bricks was very challenging.  It was well worth the 7+ hours of painting though and I'm so happy with the new look.

The Little Things

While I was enjoying the fresh paint on the walls and a much more open kitchen area, I started noticing all the little things.  Light switches were old, yellow, and stained and many electrical outlets were covered in old paint.  I decided it would be a quick fix to buy some new, white toggle switches and electrical outlets.  After my good friend Dave installed several, I learned how it was done and did many more.  Most of the downstairs was completed and the upstairs followed shortly.  Here's some before and afters.
Before
After


Installing these were pretty simple for the most part.  I just made sure the breakers were OFF before touching anything.  Manipulating the stiff wires was the toughest part of it.  Little things can make a big difference!

Just because it makes me laugh...

Saturday, January 1, 2011

New floors, paint, cabinet removal, and light fixtures galore!

Here is the first photo taken of my new flooring.  (Thanks Landers Flooring!)  SUCH an improvement from the stained concrete!  They also added white shoeing, so those are not the baseboards but a new molding addition.  The true color of the baseboards you can see on the door and peeking out from behind the shoe.  You can also see where I started to prime the walls.  Such professional work right? :)
Next, I started painting the trim and priming the walls.  I just love the contrast between the bright white and the rich colored floors!
I also began playing with colors to see what I liked best in the the kitchen/dining area.  It was between a pale green I used previously (left) and Restoration Hardware's silver sage. (right)
The carpet on the stairs was a huge improvement too.  So much safer!  (excuse the poor cell phone photography)
Then, I enlisted the help of my oh-so-handy friend Dave.  He helped me remove an entire cabinet in the kitchen and install light fixtures, ceiling fans, and fix some odd little parts in the house that were not working.  
Here is the cabinet coming down.


This guy deserves a cold beverage!

Light fixtures installed...
(We He installed 2 ceiling fans and 5 light fixtures total in my home.  There would be more to come.)
Before
After


Paint color selected...
(I went with the pale green because I used it in my last kitchen and loved it there.  The previous color was a bright avocado green in this room.)
The cabinets, doors and trim weren't painted white just yet.  
After painting the trim VERY carefully, I quickly realized how tedious a job painting trim is!  Sadly, my work did not resemble anything close to that of a professional.  I decided to hire painters to paint all the rest of the trim, doors, and a few rooms.

This was the outcome.
No more orange front door!

Silver sage paint in my bedroom.

Everything was finally painted and it was time for a nap!  (Duke beat me to it.)

*Many other rooms were painted but I was too exhausted to take pictures.  Future photos will show more.